
Affiliate disclosure: This article contains affiliate links. If you make a purchase through one, I may earn a commission at no additional cost to you.
Flushing an Outboard Jet isn’t obvious unless you’ve seen the process in action. You aren’t going to find a spot to clamp on a set of muffs on an Outboard Jet and there isn’t a great amount of information available. Even the manual that comes with the jet kits doesn’t mention the process. Flushing is important to keep the outboard cooling system clear of any debris. Running in shallow water can suck up all sorts of mud into the system. The flush adapter also allows you to run the engine with the boat on the trailer in your driveway using a garden hose, which is super helpful but don’t run the engine above idle while flushing.
Where to connect the water
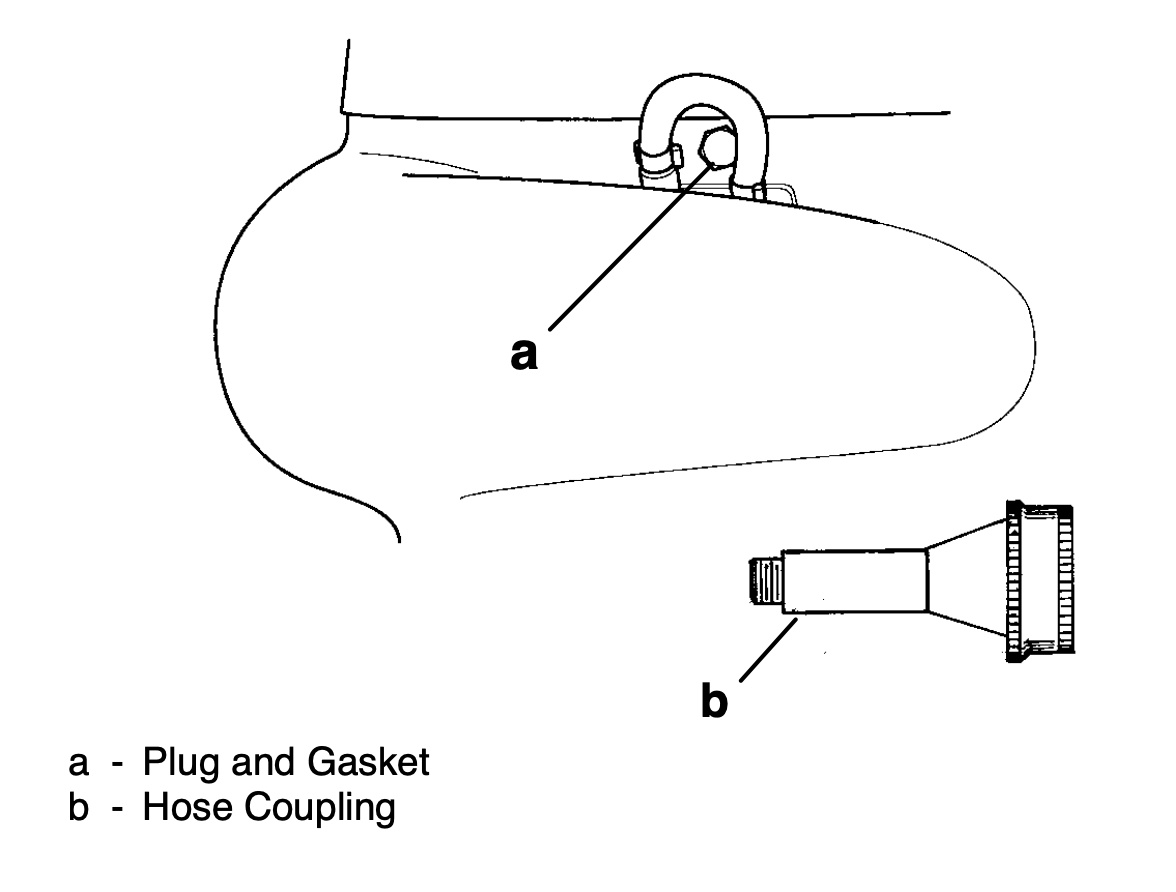
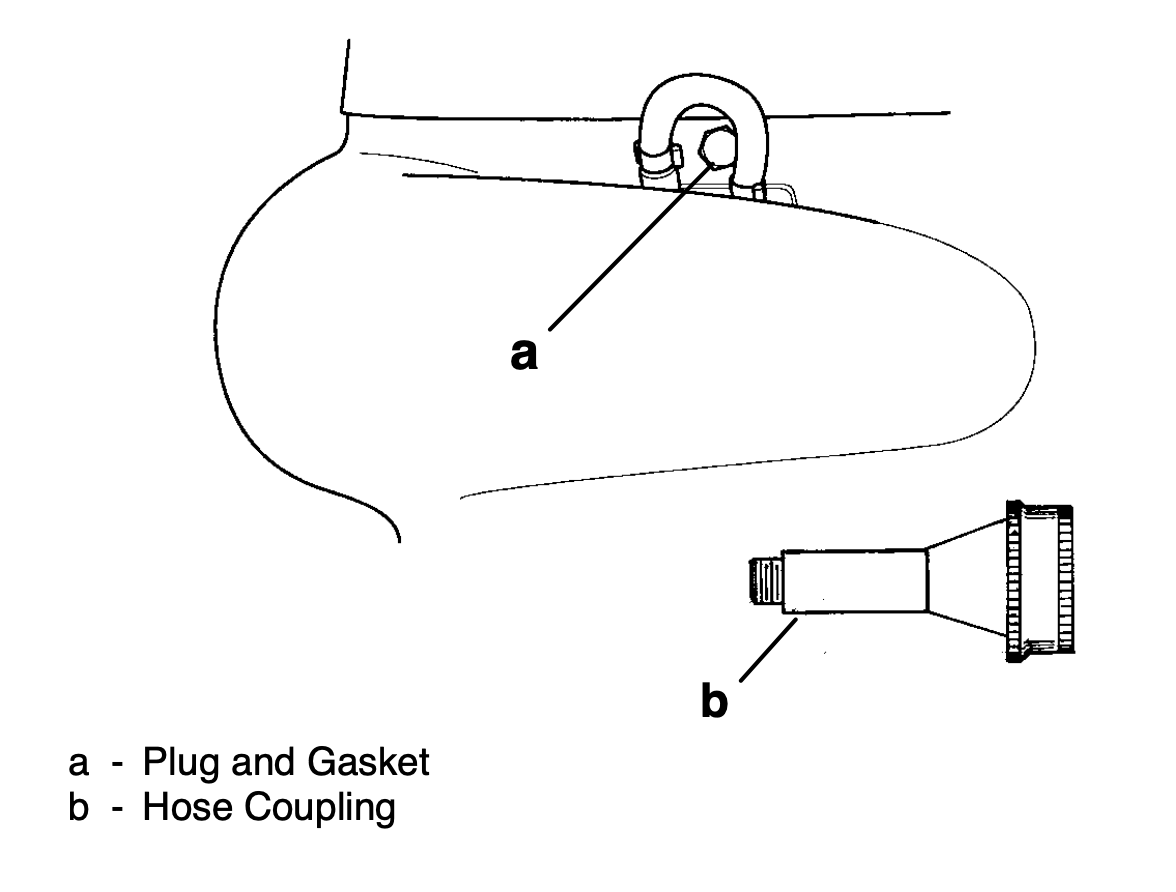
The port side of the Outboard Jet Pump (volute) has a bolt just above the grease port. This bolt is a plug for the threaded hole where a flushing adapter can be connected to feed the water pump with water from a garden hose.
Choosing the correct adapter
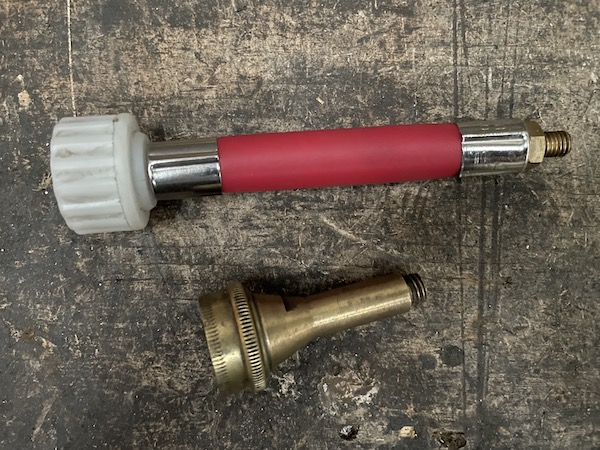
There are two flushing adapters to choose from depending on the Outboard Jet model. Mercury makes a brass flushing device (Quicksilver Part# 24789A1) with SAE ⅜” thread which fits most domestic model pumps. Then there is the Yamaha Model (#ABB-FLUSH-JD-00) with M8 threads which fit Japanese Outboard Jets. In general, the domestic models: Mercury and Evinrude use the Mercury adapter while the Japanese models such as Yamaha, Tohatsu, and Suzuki use the Yamaha adapter.
You have to verify which adapter and here is an easy way to check. Remember this is based on the Outboard Jet Pump, not necessarily the powerhead attached to it. The easiest way to tell is to determine the wrench size used to remove the flushing bolt. If you’re using a 9/16” wrench to remove the bolt then you need the Mercury adapter. If you’re using a 13mm then you’ll need the Yamaha adapter.
| Outboard Jet | Flushing Port | Flush Adapter |
| Mercury, Evinrude | Wrench Size 9/16” | Mercury Part #24789A1 (Outboard Jets #1064.5) Note: This adapter is not currently available on Amazon. It can be purchased directly from Outboard Jets as part #1064.5. |
| Yamaha, Suzuki, Tohatsu, Honda | Wrench Size 13mm | Yamaha #ABB-FLUSH-JD-00 (Outboard Jets #1065) |
Another adapter option
Black River Boats also offers a custom-made Jet Pump Water Hose Adapter. I have not tested this one myself, so I cannot speak to the fit or how it holds up, but it may be another option if you cannot find the Outboard Jets adapter.
Instructions
- Remove the flush plug bolt (don’t lose the small fiber washer).
- Connect the flush adapter to the Outboard Jet.
- Connect the garden hose to the flush adapter.
- Turn the water supply on until you see water coming from the bottom of the jet.
See the Flush Adapters in Use
Here is a Mercury Outboard Jet running with the Mercury-style flush adapter installed. Keep the engine at idle while flushing.
Here is my 115/80 Yamaha Outboard Jet idling in the driveway with the Yamaha-style flush adapter installed. Keep the engine at idle while flushing.
If you lose or damage the small fiber washer behind the bolt don’t worry you can purchase a replacement at Home Depot, Lowe’s, or Ace Hardware.
Other options
If all else fails you can run a jet inside a 55-gallon drum sitting on blocks but it is not ideal and water goes everywhere. In my opinion at that point, it’s easier to just take the boat to a ramp.
Also, do not bother with trying to DIY these flush adapters. Just order one of the adapters listed above. By the time you have hacked together all the parts and pieces, you’ll have spent more time and money than it would have cost to just get one. Trust me 😉